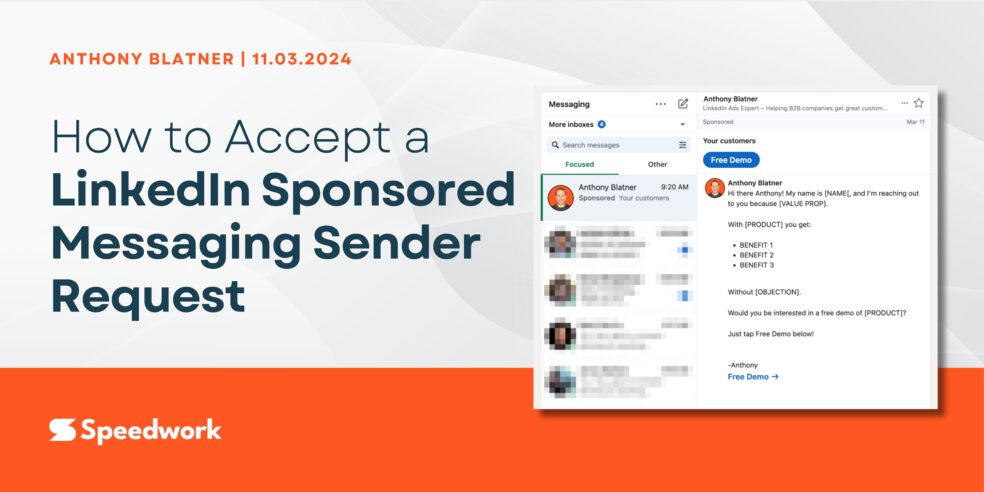
An advertiser must send a Message Sender Request to the intended sender. To be able to send the request, the advertiser must be a first-degree connection with the intended sender.
Steps to Accept the Message Sender Request
1. Click Accept Link
Once the request is sent, the intended sender will receive an email from LinkedIn. They can also click this link to accept:
https://www.linkedin.com/campaignmanager/accounts?destination=sponsored-inmail-sender-permissions
This is the universal link to open up message sender requests in LinkedIn Campaign Manager, not specific to an account. Upon clicking they should see “Manage Sponsored Messaging Sender Permissions” dialogue.
Note: LinkedIn may ask them to first set-up 2-Factor Authentication.
If the pop-up doesn’t appear right away, they can click on their profile picture -> Manage Sponsored Messaging Sender Permissions
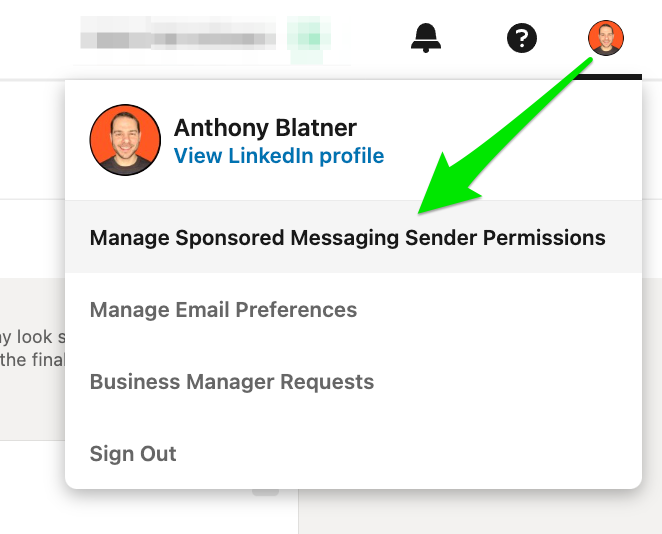
Click on your profile picture then Manage Sender Permissions
2. Enable Permissions for Page
Once the dialogue opens, they should enable sender permissions for the Company Page they wish to be a sender on behalf of.
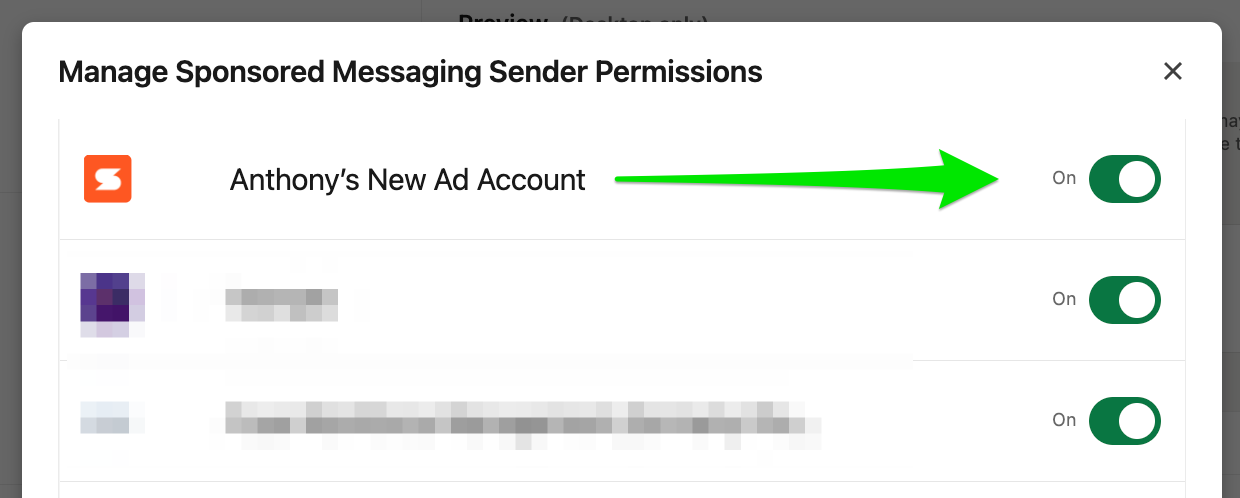
Flip the switch to “on”
After that switch is on – you’re all set!
Not seeing the request?
You may need to switch between your Company’s Business Manager and Your profile’s accounts in the top right.
This process can be finicky, if you run into any issues – let us know.
Click on the icon in the top right and switch to your profile, or switch to your company.