Need to add these social media tags to your website before starting ad campaigns… and want an easy walk through to see how to do it?
Then follow along to learn… 💡
- Where to find the code snippets for each.
- How to add the tags to your website.
- How to check and verify they’re working properly.
If you’re running any kind of paid digital advertising, then having these tags on your webpages first is an absolute must.
The most powerful part of digital advertising is the depth of data available. That data comes from having the proper analytics and conversion tracking in place. 📊
Note, you must first have a LinkedIn and Facebook ad accounts.
- How to Create a LinkedIn Ad Account
- How to Create A Facebook Business Manager then Create A Facebook Ad Account.
Find Your LinkedIn Insight Tag
Go to https://www.linkedin.com/campaignmanager/accounts, log in, and then click into your ad account.
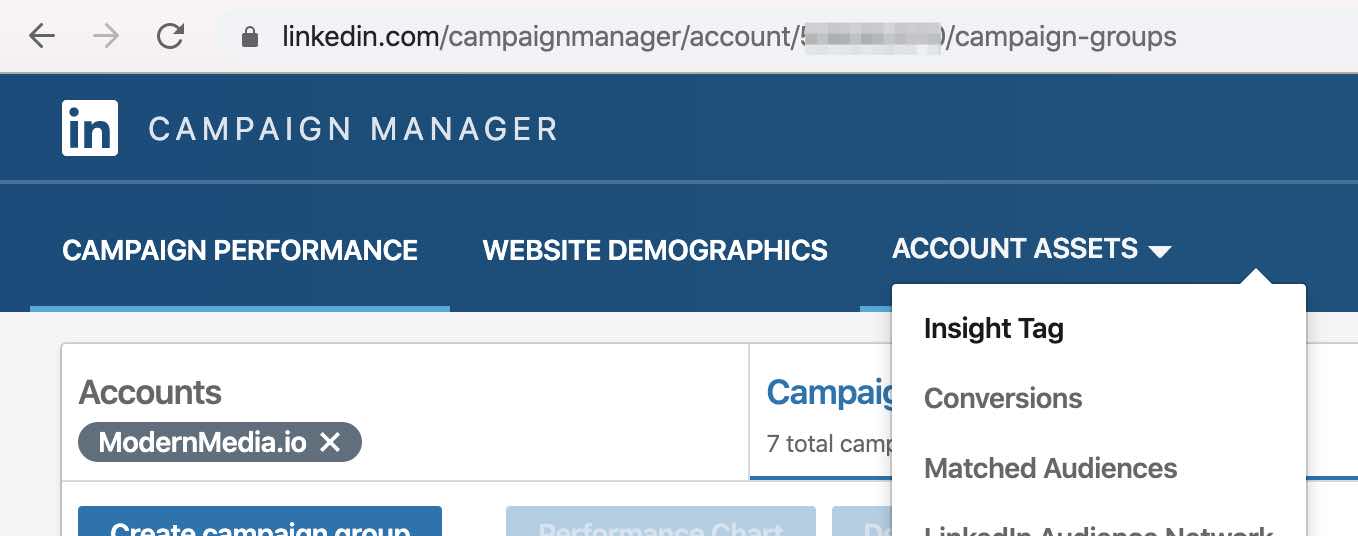
Navigate to Account Assets > Insight Tag.
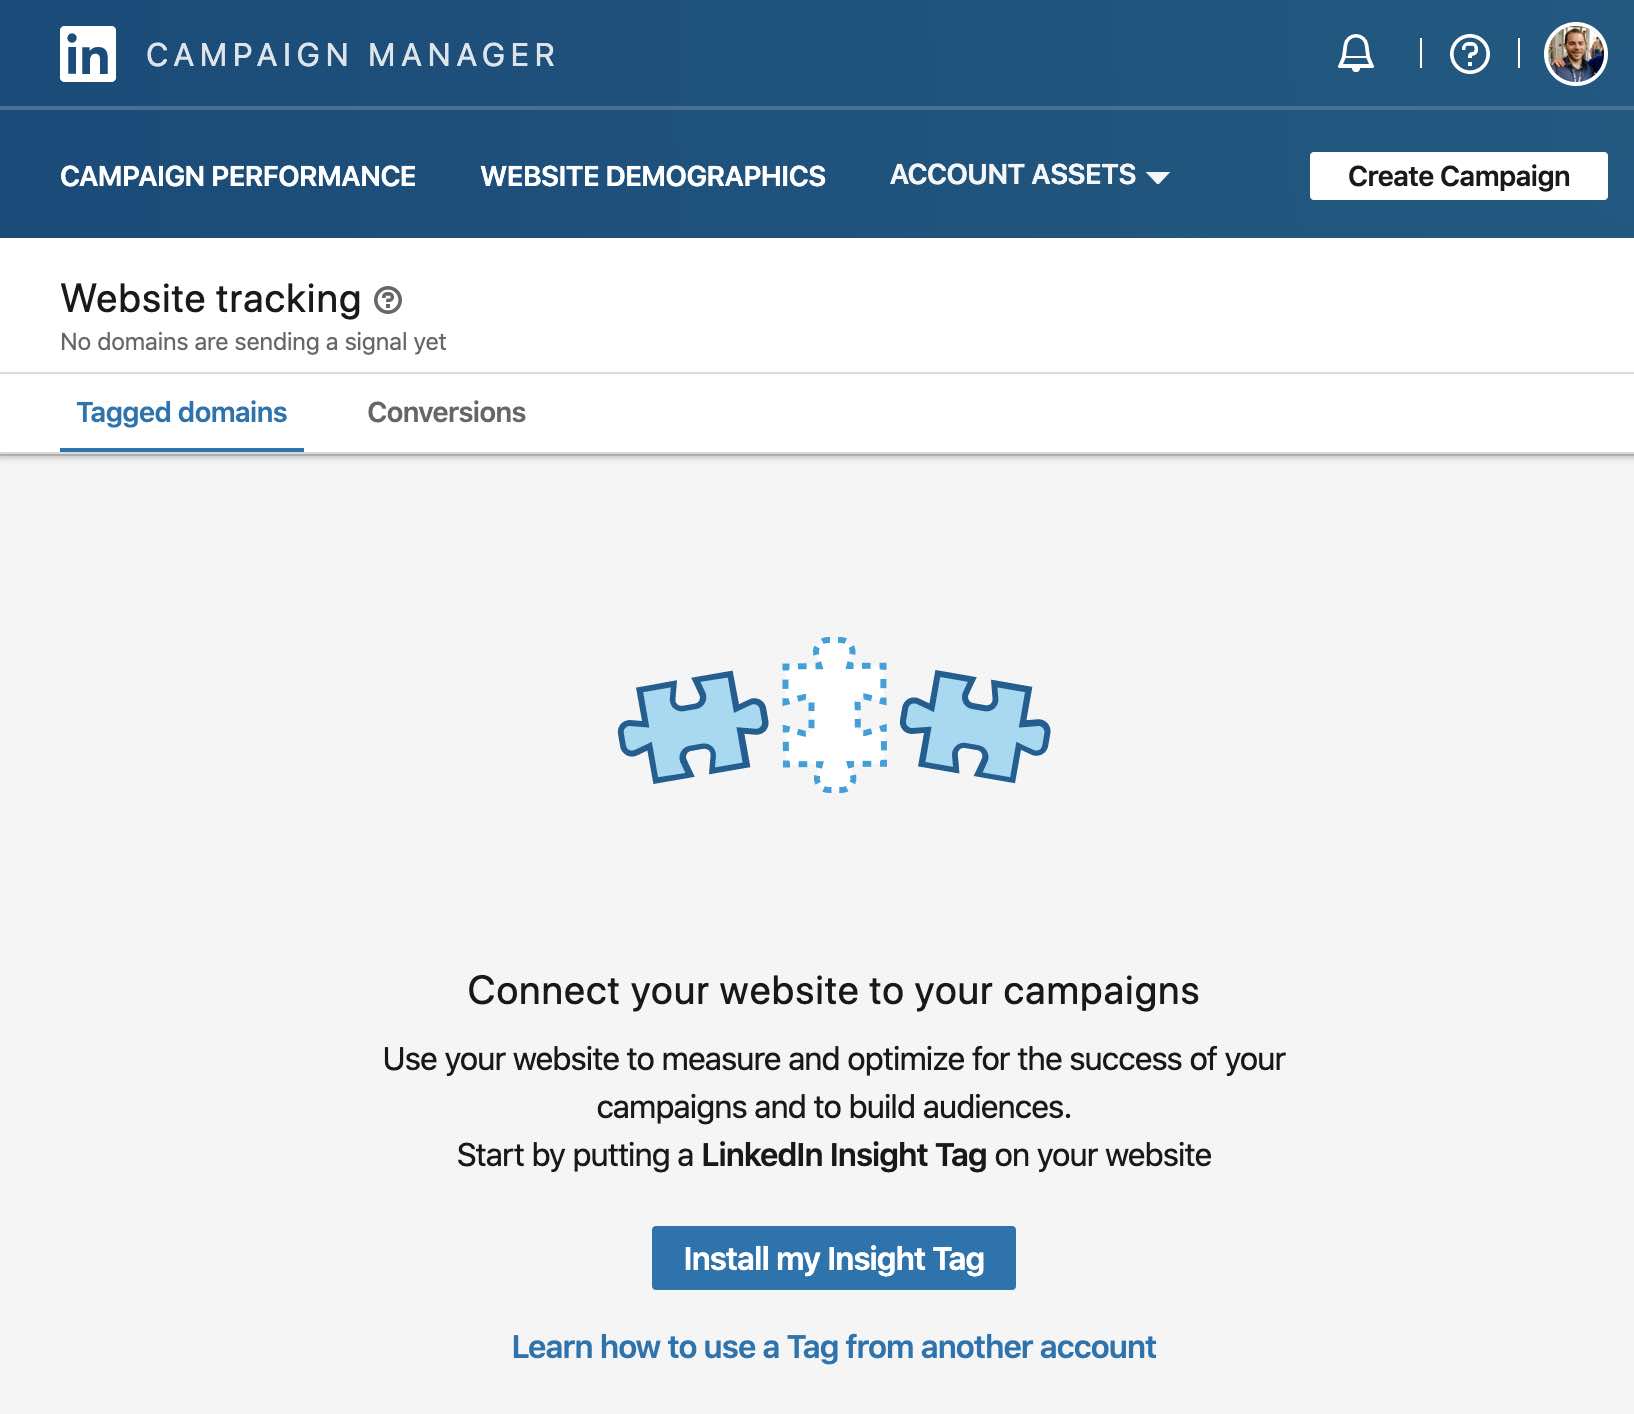
If this is your first time, you will see the following page.
Click Install my Insight Tag.
Else, you will see a list of Tagged domains.
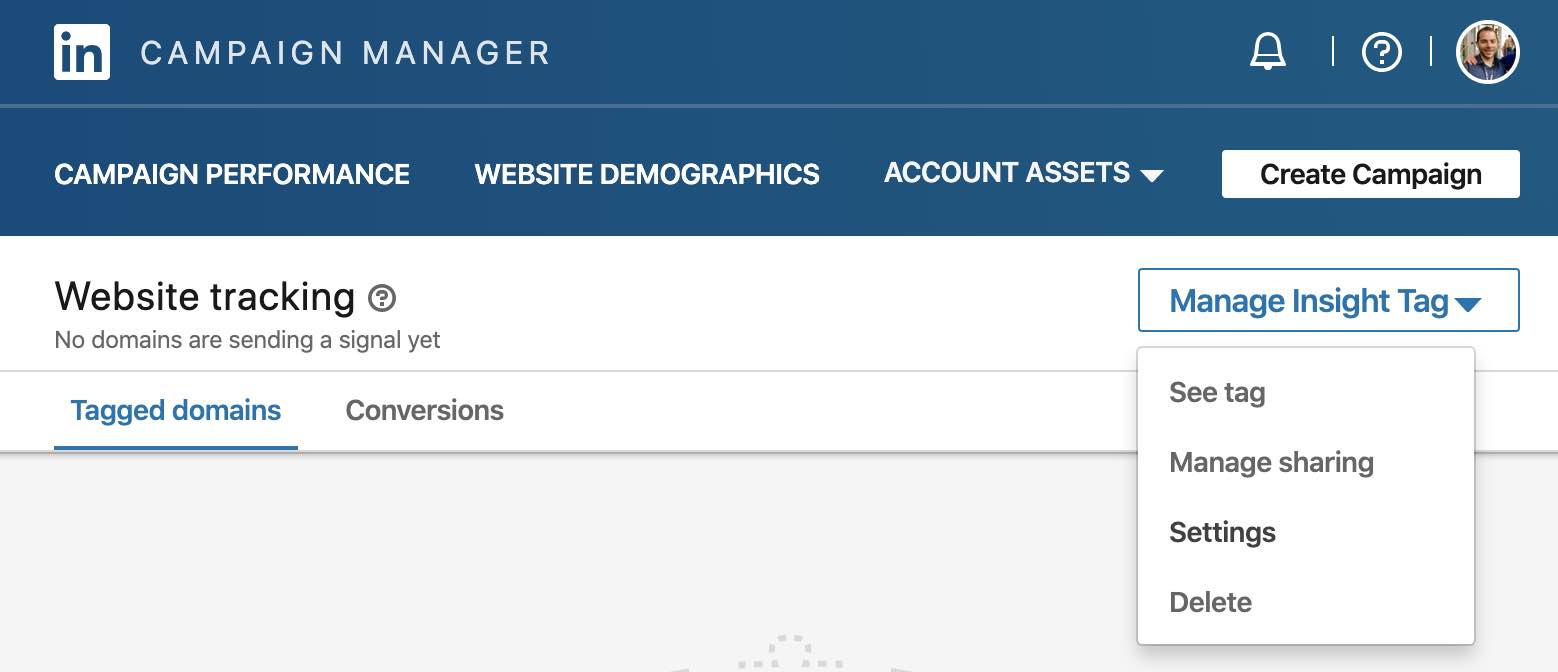
Navigate to Manage Insight Tag > See tag.

Expand I will install the tag myself.
Click Copy code to clipboard.
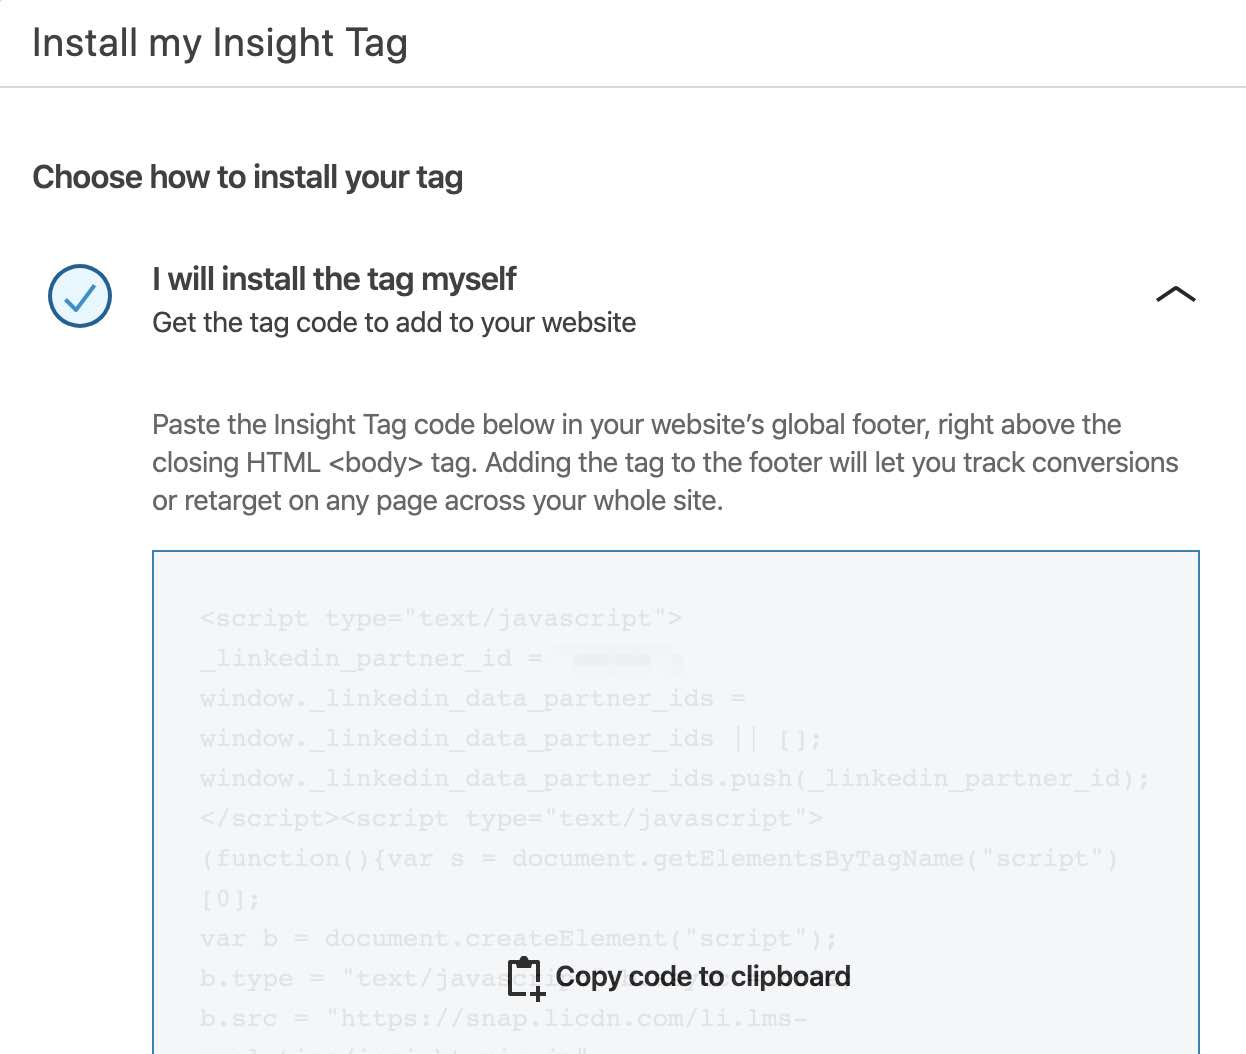
Add this code to the header section <head>…</head> across your entire website, including any blog subdomains. More info on that in the next section.
PRO TIP: Enable enhanced conversion tracking
While you’re in LinkedIn Campaign Manager… also go to Manage Insight Tag > Settings, and turn on Enable enhanced conversion tracking.
![]()
Find Your Facebook Pixel
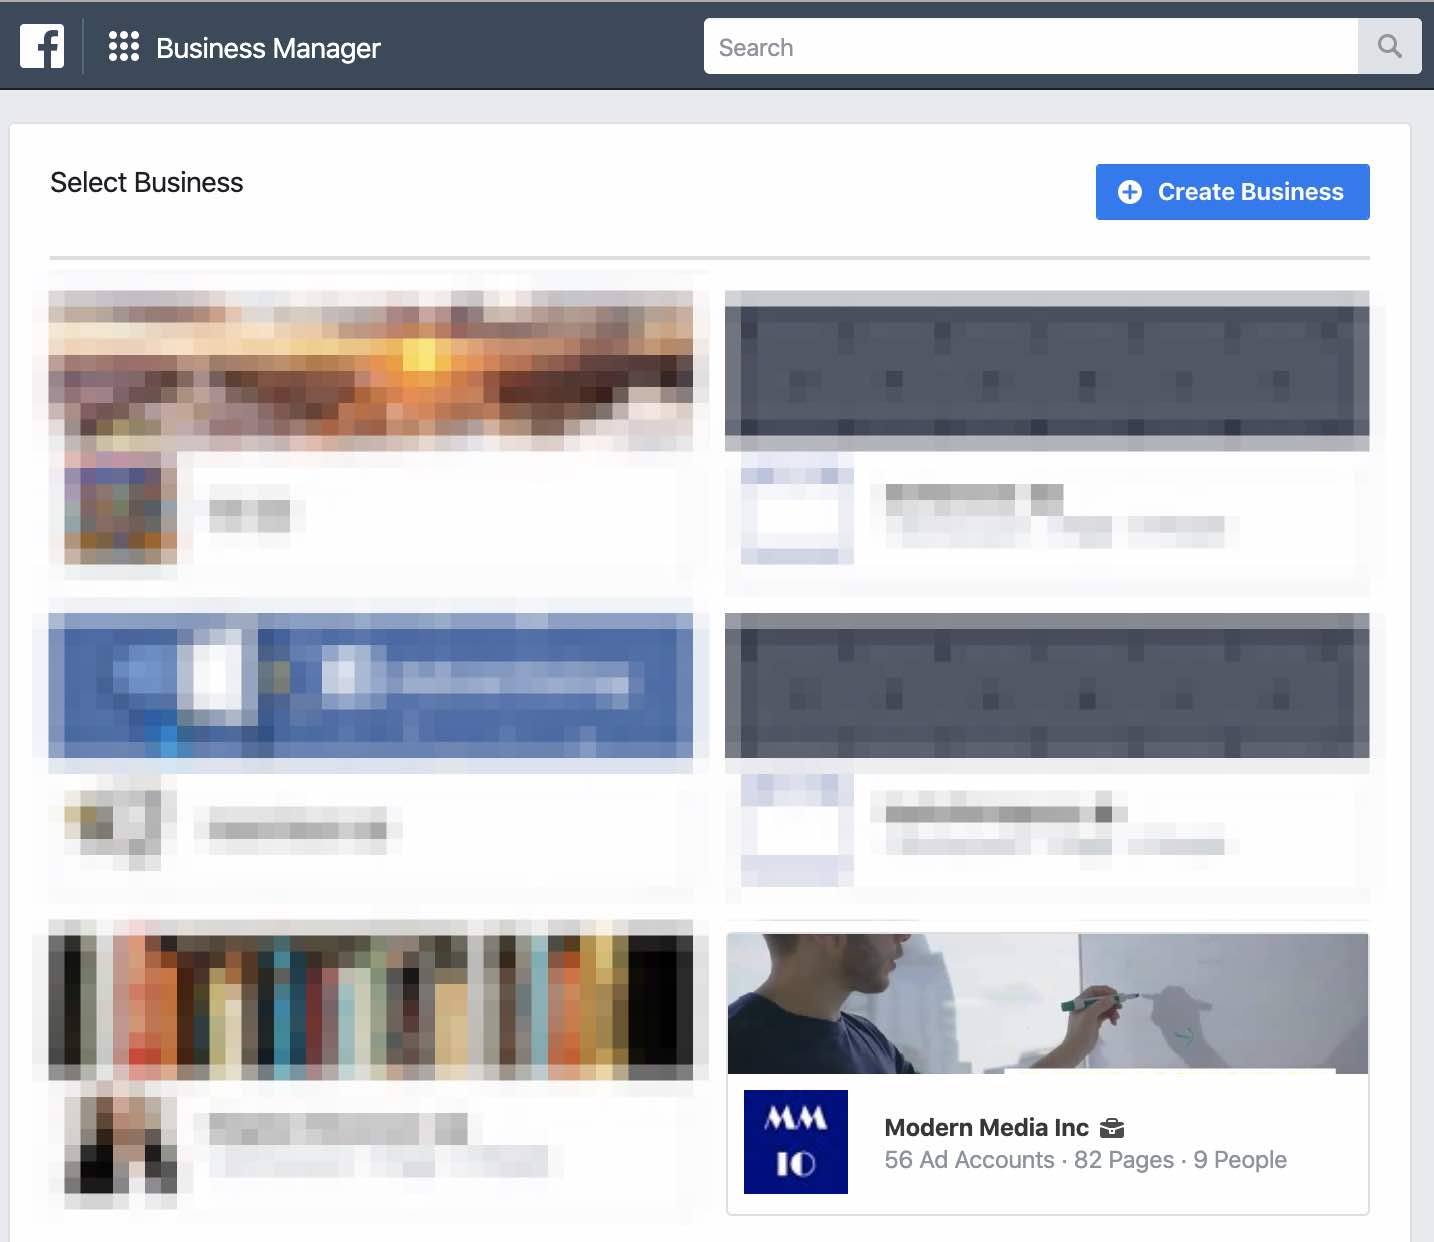
Go to business.facebook.com and login.
Click into your business account.
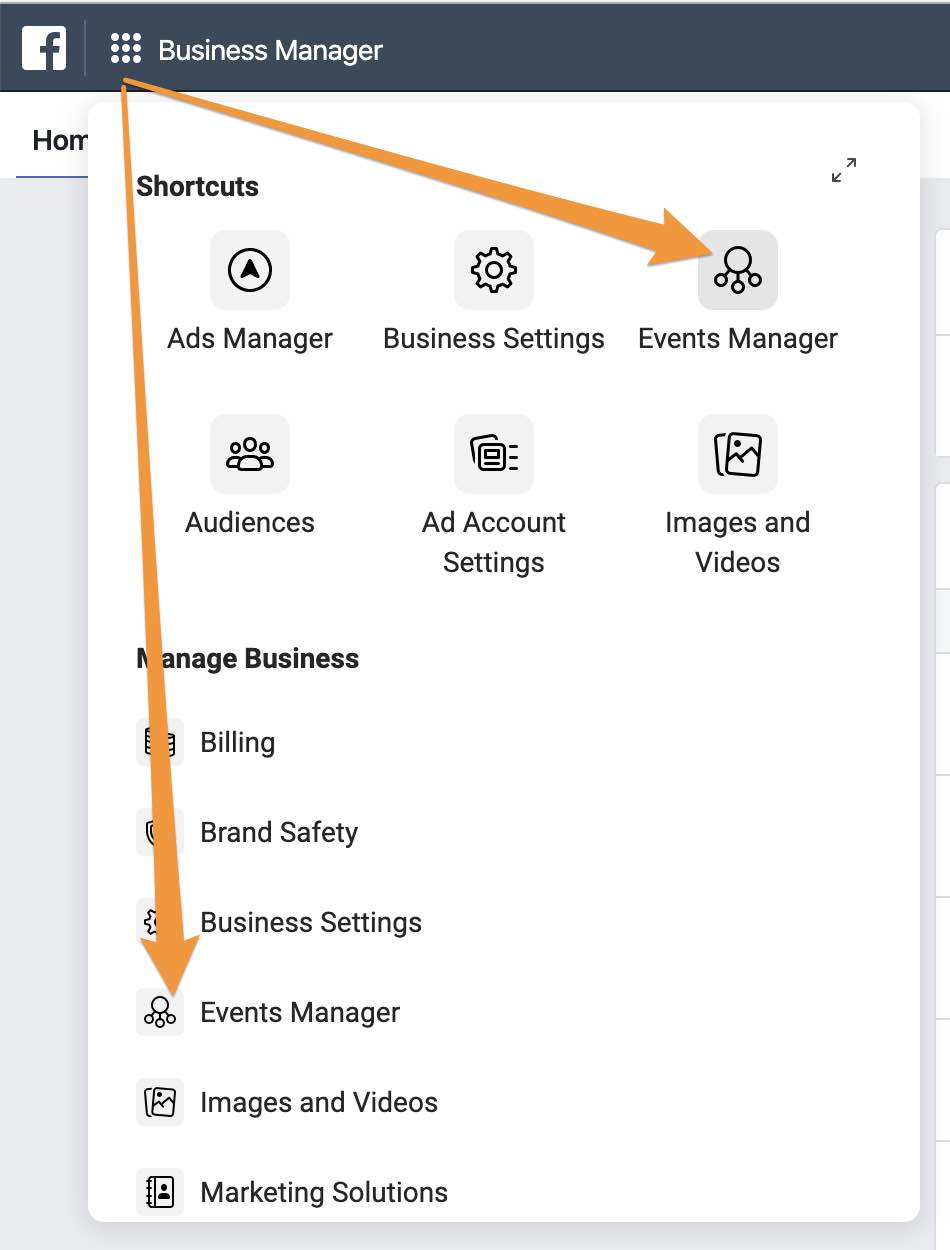
Go to Navigation Menu > Events Manager.
(This menu seems to change frequently and may not look like the screenshot below)
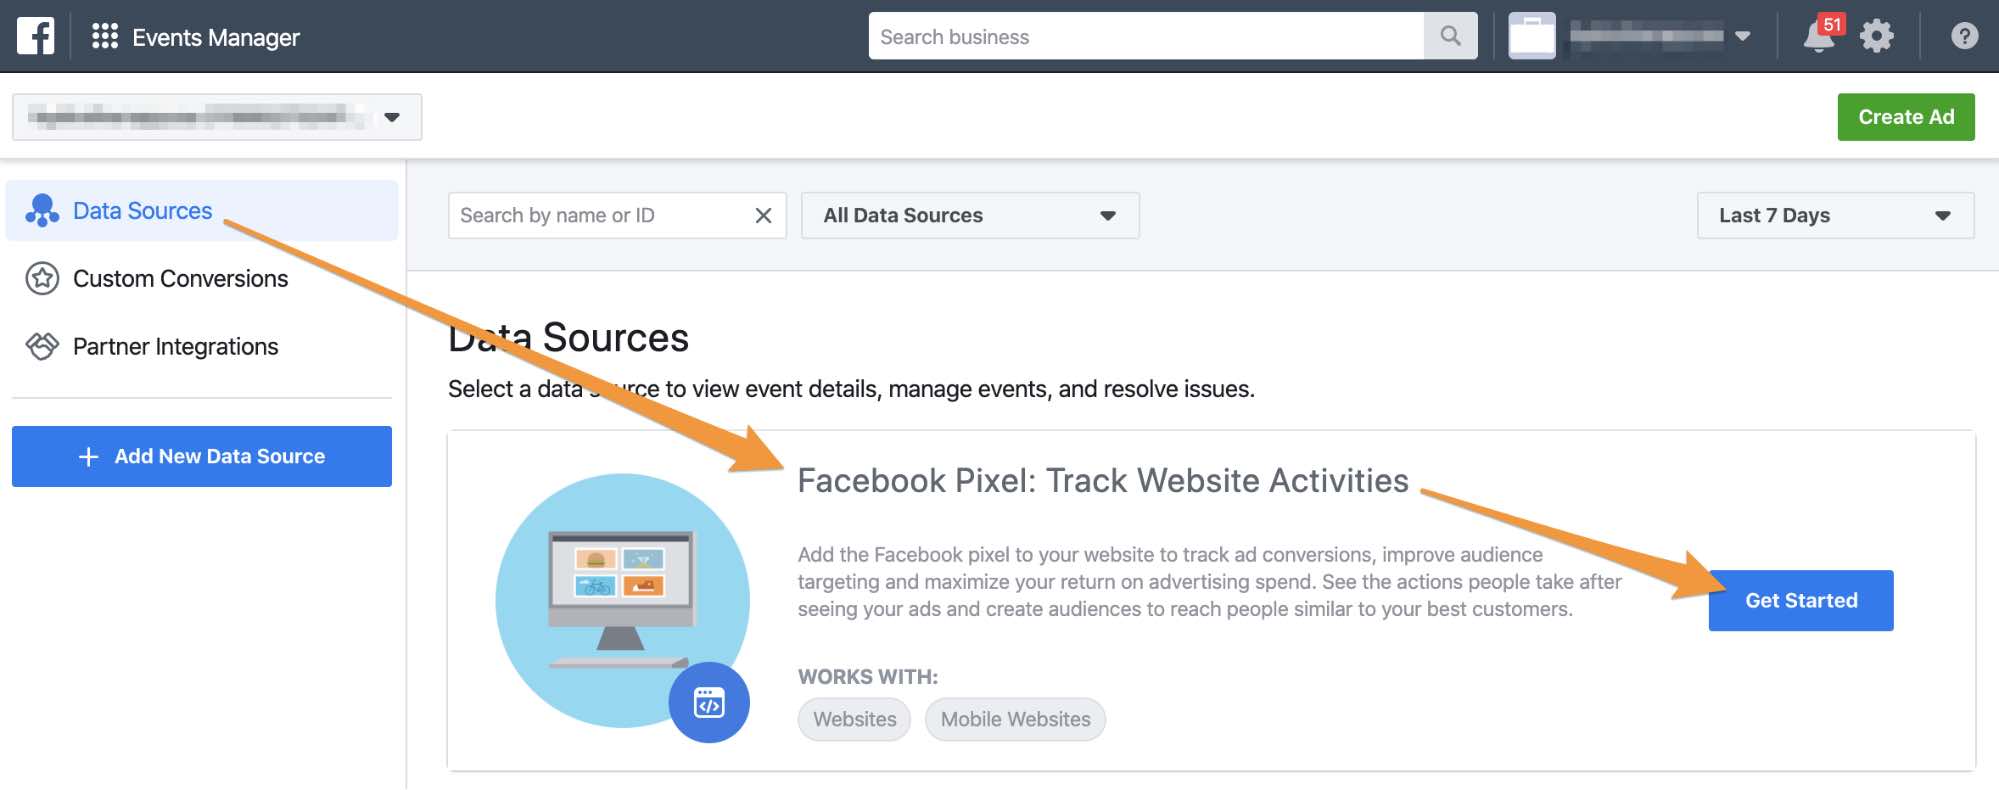
If you have not yet created a Pixel… your screen will look like the following.
Name your Pixel > Continue.
![]()
Else, you will see your existing data sources.
Go to Data Sources > Click into your Facebook Pixel.
![]()
Go to Set Up > Install Pixel.
![]()
Click Manually add pixel code to website.
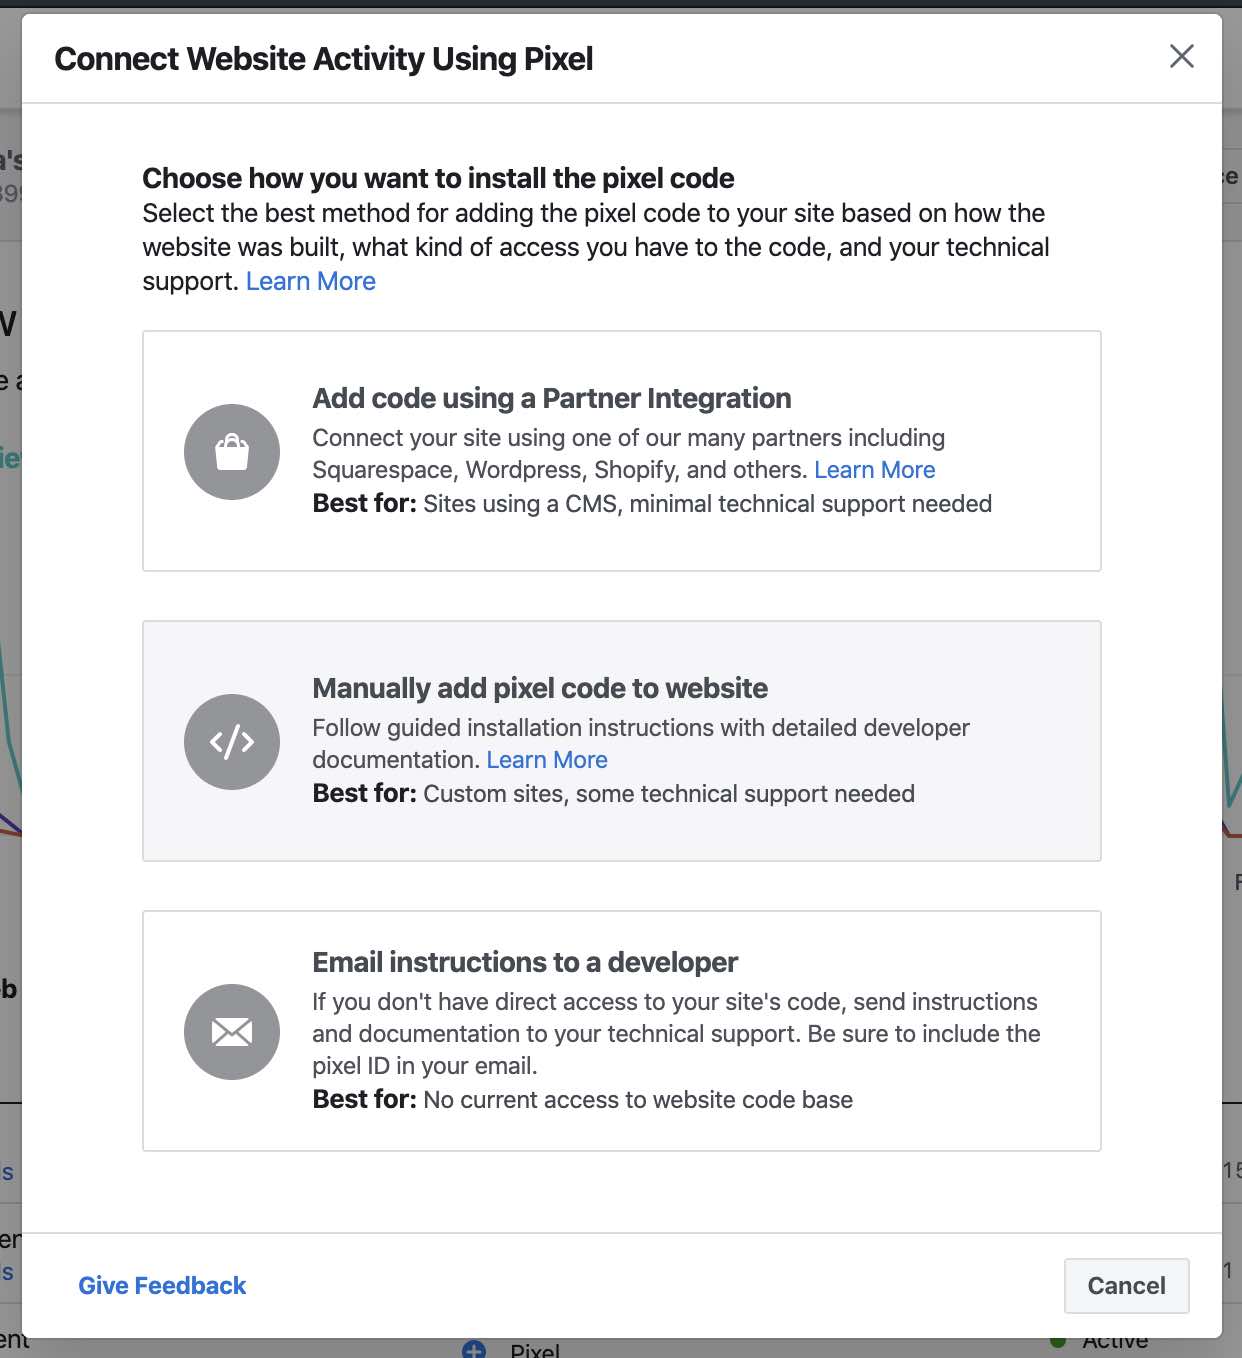
Under Install base code on website > Click Copy Code to Clipboard.
![]()
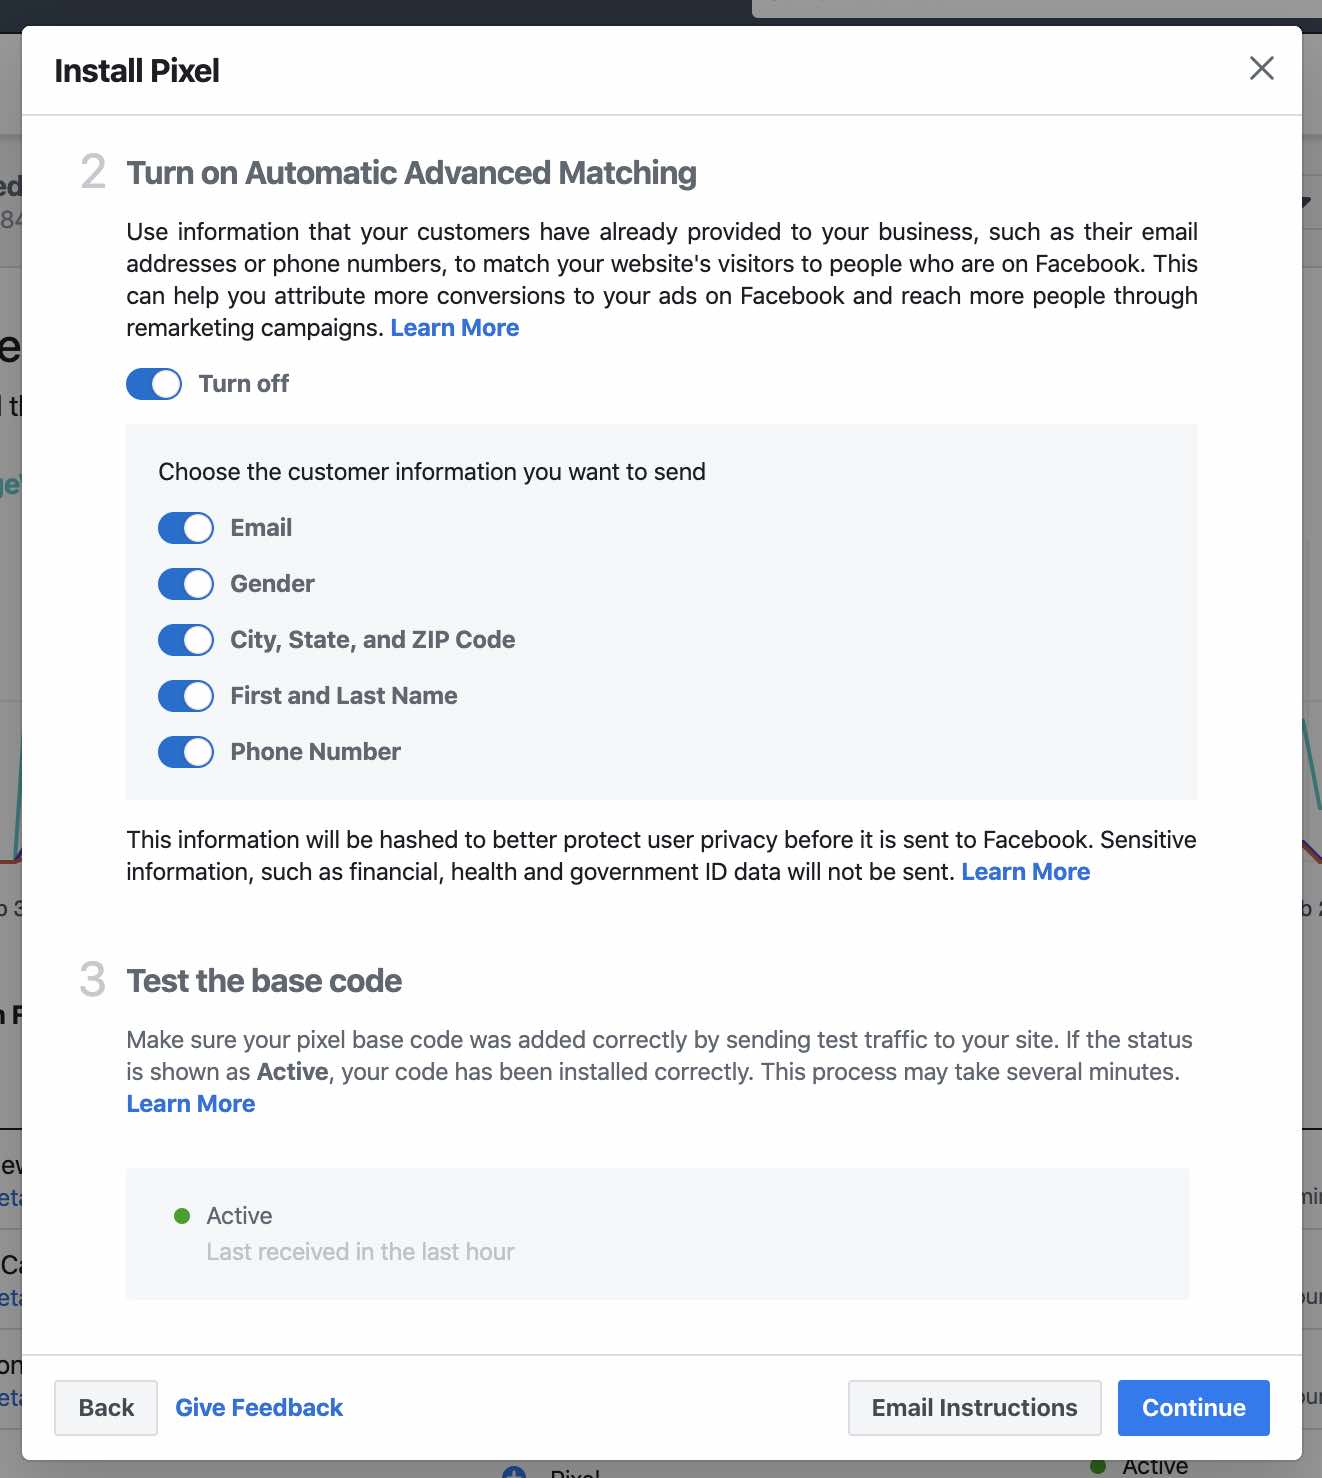
PRO TIP: Enable advanced matching.
Scroll down within the same pop-up and turn on Automatic Advanced Matching.
Want better results from your ads?
Book a call with us to get started!How to add tags to your website
Now that you’ve found the tracking codes for each, let’s get these added to your website.
You’ll need to have edit access to your website.
We recommend adding this LinkedIn Insight Tag and Facebook Pixel across all pages, including any subdomains, such as a blog section. Having these tags across the whole site allows you to track everyone who visits (and later retarget).
Specific conversion or event tags can later be added after these base tags are in place.
Add these codes in the header section of every page.
That’s the section between <head>…</head>
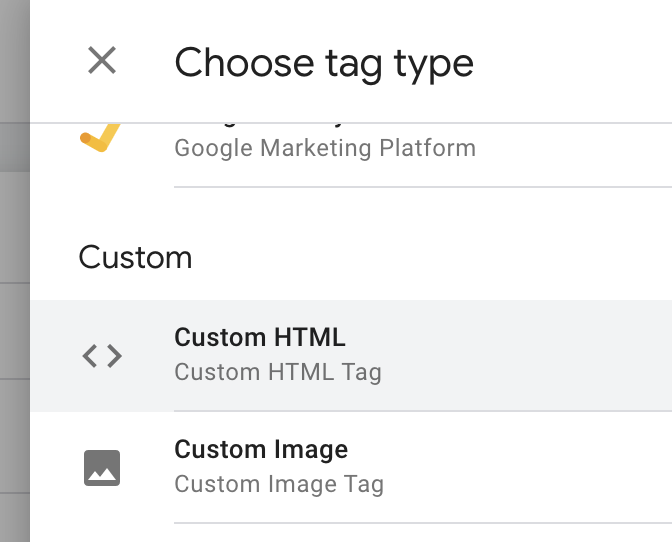
Google Tag Manager: If you’re using GTM. Add these code snippets as Custom HTML.
WordPress: Use a tag management plug-in, such as Tracking Code Manager.
ClickFunnels: Open your Funnel > Settings > Head Tracking Code.
![]()
Check and Verify Your Tags
After your tags have been added to your website make sure they are receiving data.
Open a new tab and visit that page yourself on your computer and mobile device. The tag should detect the traffic and report back that data is being received. Note, it can take an hour or two for data to start flowing and be recognized.
Here’s how you can check and verify your tags are working correctly…
If you notice any issues with your tags showing up, be sure to clear any cache that your website provider is using, along with your browser’s cache. (Caching stores old versions of a page for speed benefits, so make sure you’re viewing the updated page with the code).
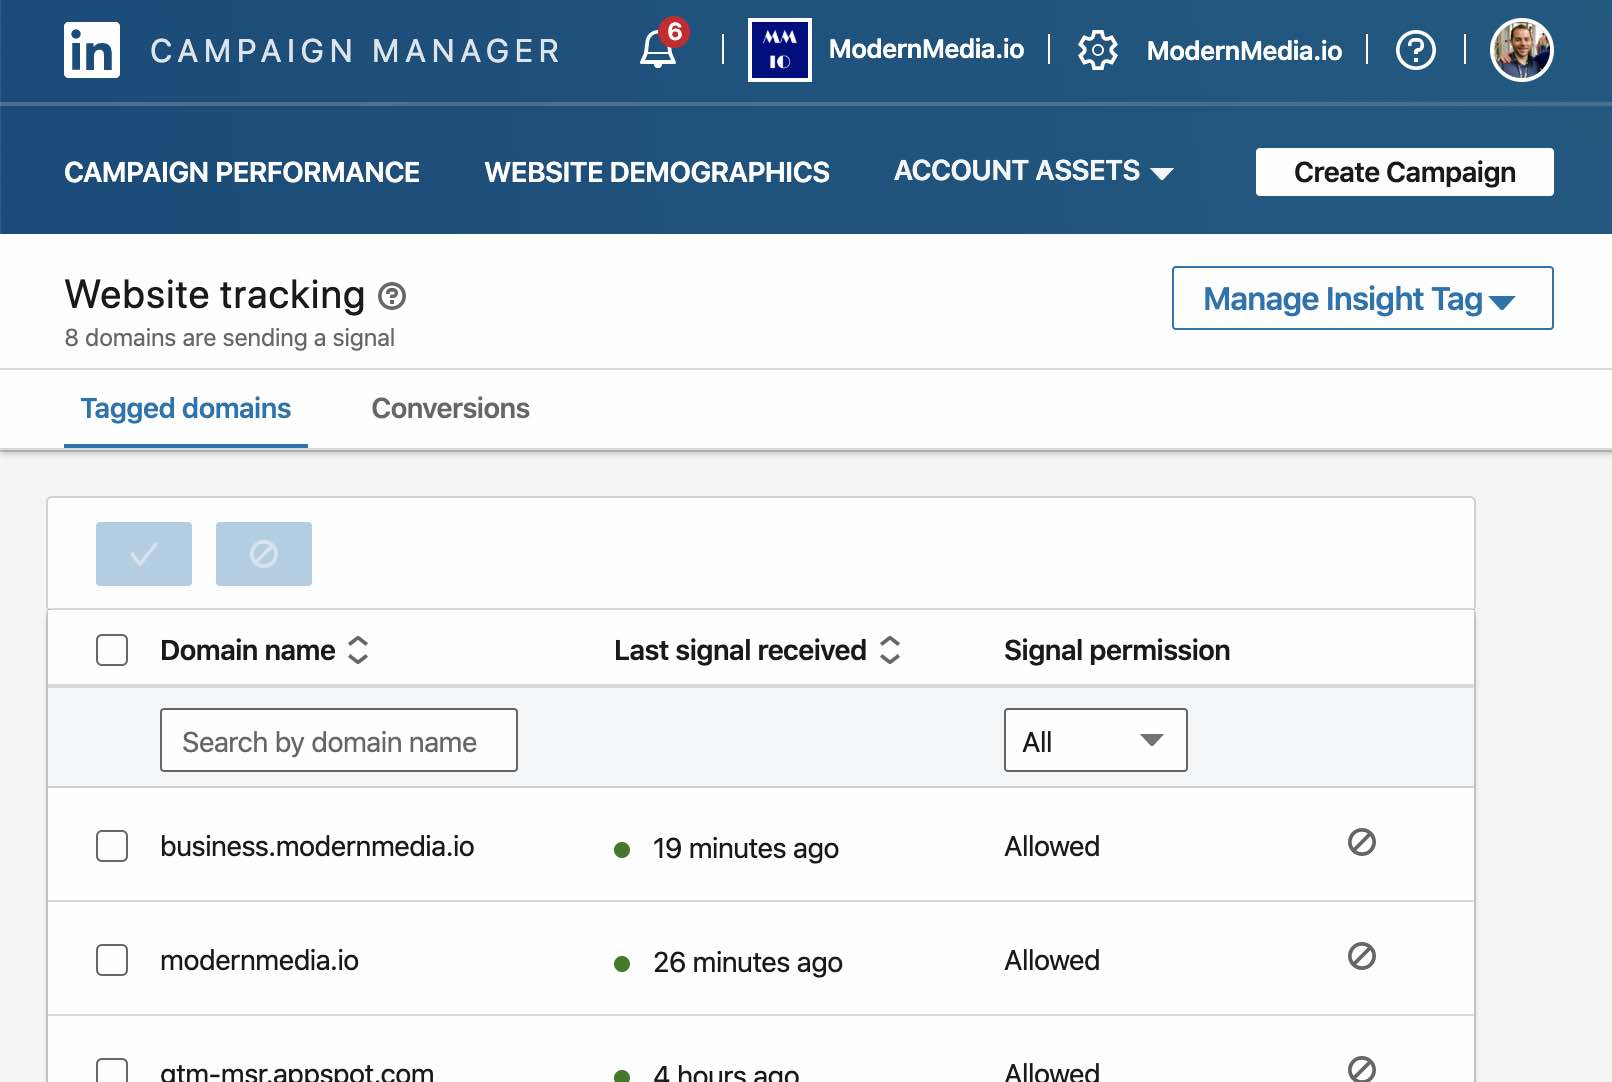
Go back to your LinkedIn Campaign Manager > Account Assets > Insight Tag.
You should now see those domains listed under Tagged domains.
If your website is there – perfect!
Facebook Pixel Helper is a handy Chrome browser extension that can help verify your implementation.
Install that extension and then load your page.
If the Pixel Helper detects your pixel with the correct Pixel ID, then you’re all set!
![]()
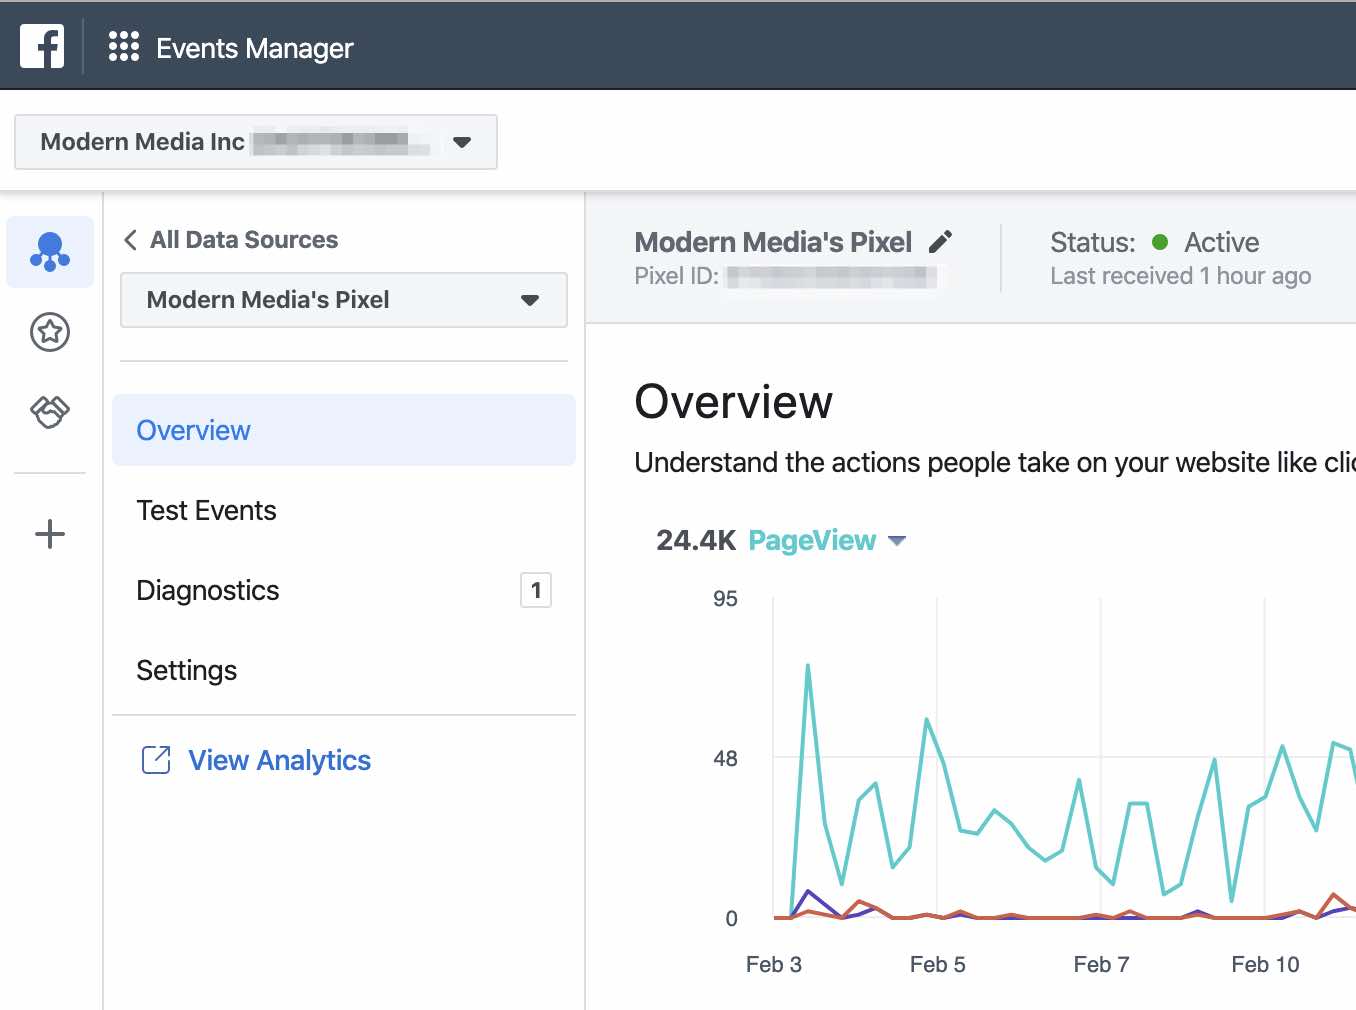
You can also go back into Facebook Business Manager > Events Manager > Overview or Test Events to verify that the Status: Active and it is receiving data.
Lastly, here are the docs straight from the social media platforms themselves:
- LinkedIn: https://www.linkedin.com/help/lms/answer/65513/add-the-linkedin-insight-tag-to-your-website?lang=en
- Facebook: https://www.facebook.com/business/help/952192354843755?id=1205376682832142